Stargazing on Camping Trips: Find Dark Skies, Pack Right
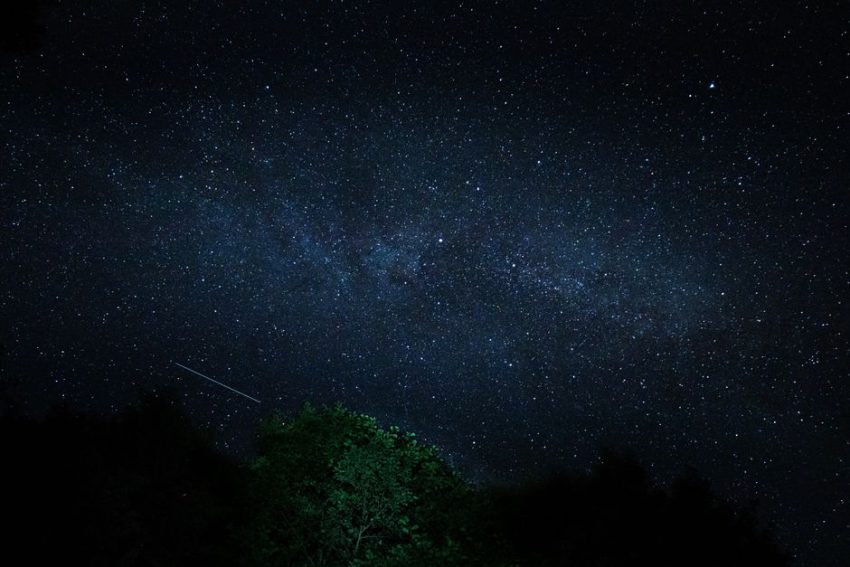
Many campers who live near cities have rarely seen the Milky Way clearly. A camping trip can change that, but only if you choose the site, moon phase, weather window, and lighting carefully. A costly telescope cannot fix a bright campground or cloudy horizon.
Why a dark sky matters more than a telescope
The first principle behind a good view
Stars are visible because your eyes detect contrast between faint points of light and the background sky. Artificial light raises that background brightness through skyglow, glare, and light scattered by dust or moisture. Your pupils may open normally, yet the sky still looks washed out. That is why moving 30 or 50 miles from a city can improve the view more than buying a larger optical instrument.
Darkness also takes time. After arriving, avoid bright white lights for roughly 20 to 30 minutes so your eyes can adapt. A phone screen, vehicle headlights, or a neighbor’s lantern can reset that process in seconds.
The clear verdict
For a first camping astronomy trip, spend money on a darker campsite and a comfortable chair before buying a telescope. A certified dark-sky park, a remote national forest site, or a low-light rural campground will produce a bigger improvement than a cheap scope used beside a busy highway. Treat every location rating as a signal, not a guarantee. Like an AM Best rating or a J.D. Power score, it gives you a useful starting point, while weather, nearby lights, and your exact campsite still decide the experience.
How to find a campsite with genuinely dark skies
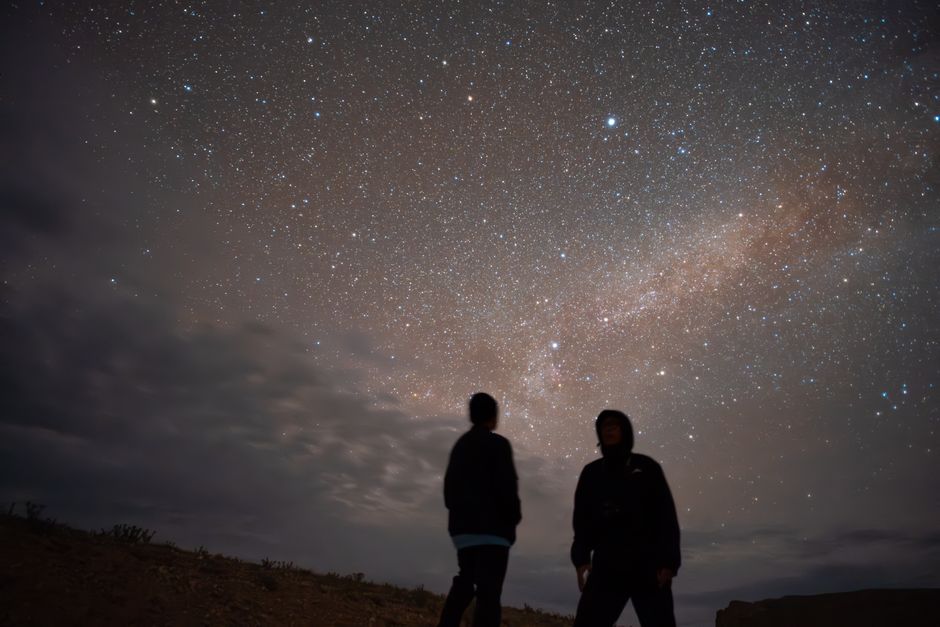
DarkSky International maintains a global directory of certified parks, communities, reserves, and sanctuaries. Start there, then inspect the actual campground map. A large certified area may contain a visitor center, paved loop, restroom lighting, or a ridge that blocks half the horizon.
Use the label as a filter
| What to check | Useful target | Why it matters |
|---|---|---|
| Distance from city lights | At least 30 miles from a major urban area | Reduces visible skyglow on the horizon |
| Campground lighting | Low, shielded, downward-facing fixtures | Protects dark adaptation at ground level |
| Horizon view | Open sightline above 20 degrees | Shows more constellations and rising objects |
| Moon phase | New moon or moon below the horizon | Prevents moonlight from washing out faint stars |
| Cloud forecast | Clear or mostly clear skies after midnight | Cloud cover can erase the entire target sky |
Verify the exact night
Use a light-pollution map to compare candidate sites, then check the hourly cloud, smoke, wind, and humidity forecast. A dark site near wildfire smoke may show fewer stars than a moderately dark site under clean, dry air. Confirm quiet hours and lighting rules too. Some campgrounds restrict lanterns or vehicle movement after a set time, which can improve the view but also make late arrivals unsafe.
How the moon, weather, and horizon change what you see
Moonlight is useful and destructive
The Moon is not simply good or bad. A bright crescent can illuminate a trail and make a first night outdoors feel safer. A nearly full Moon, however, can overwhelm the Milky Way, faint nebulae, and many meteor trails. For deep-sky viewing, plan around the new moon. For lunar viewing, choose a night when the Moon is visible and use its changing shadows as the target.
Check moonrise and moonset, not just the phase name. A new moon may still leave you with an early-evening viewing window if the previous crescent sets late. A first-quarter Moon can be an excellent compromise for families because it provides a clear object to view before setting.
Clouds are only one part of the forecast
Thin high cloud often looks harmless in a daytime forecast but spreads city light across the whole sky. Humidity and haze do the same thing. Wind can shake a tripod, move a lightweight telescope, and make a comfortable chair feel cold after sunset. Smoke creates a separate problem: it scatters light and can make a remote site appear far brighter than its map rating suggests.
Use the forecast as a decision rule. If cloud cover is above 50% during your planned viewing hours, do not drive several hours for a faint-object session. Switch to a Moon, planet, or constellation walk closer to home. That protects both your budget and your patience.
Keep the best horizon open
Mountains, tall trees, tents, and campground loops hide low-altitude objects. The celestial equator and planets can pass through the southern sky for northern-hemisphere observers, while the Milky Way’s most dramatic sections may rise from a specific direction and time. Before dark, walk 50 to 100 yards from the tent and identify the brightest horizon lights. Face away from them, keep the tallest obstacles behind you, and choose a stable observing spot before the temperature drops.
What to pack for a night of stargazing
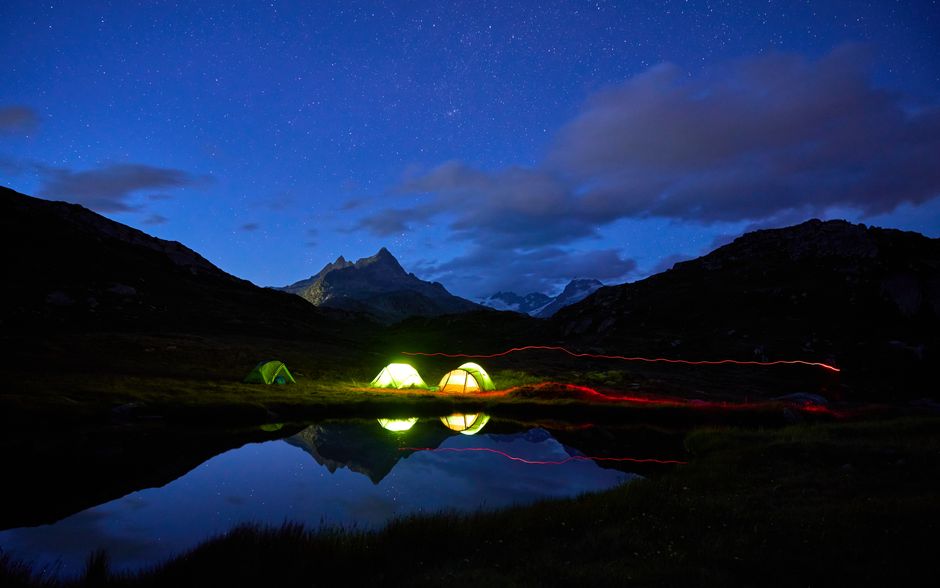
My packing rule is simple: bring tools that improve safety or comfort before tools that add magnification. Stargazing usually involves standing still for long periods, so warmth, seating, and controlled light matter more than a large equipment case.
The core kit
- Star map: Download an offline sky map before leaving service range. Turn the phone brightness down and use a red-screen setting if the app supports one.
- Stable support: Bring a camp chair, foam pad, or compact stool. A seated observer notices more because eye strain and neck strain arrive later.
Comfort and safety additions
- Pack a warm layer, hat, and gloves even during a mild afternoon. Temperatures fall quickly when you stop moving.
- Carry spare batteries or a charged power bank. A dead phone should not remove your navigation or emergency light.
- Bring a soft cloth and sealed case for optics. Do not wipe dew from a lens with a shirt sleeve.
- Keep a normal white light available for emergencies, food preparation, and walking near roots, rocks, or wildlife. Protecting dark adaptation never outranks safe movement.
Common mistakes that ruin a camping stargazing session
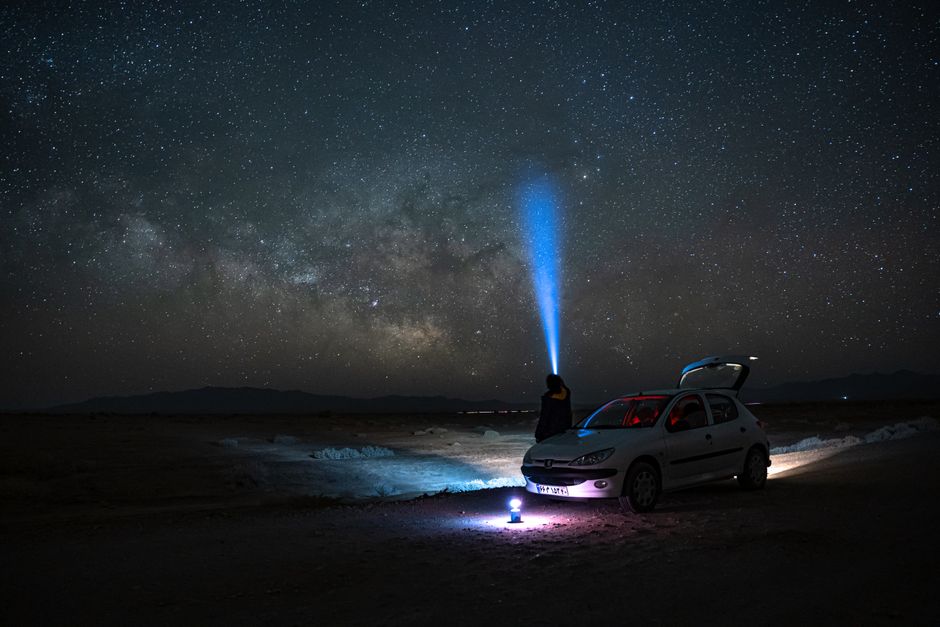
The most common mistake is treating stargazing as a gear problem. It is usually a planning problem.
Five errors to avoid
- Arriving after dark and discovering that the reserved site faces a floodlit bathhouse or highway.
- Planning around a dark-sky label without checking the Moon, clouds, smoke, and humidity.
- Using a bright white flashlight every few minutes, forcing your eyes to readapt.
- Buying a high-magnification telescope with a shaky tripod. Stability matters more than an impressive number on the box.
- Expecting astrophotography results from a visual camping setup. Long exposures need a stable mount, careful focus, power, and a separate plan.
The specific recommendation
For most camping travelers, book a certified or demonstrably low-light site 30 miles or more from a major city, target a clear night near the new moon, and pack a headlamp with a red mode, a star map, warm layers, and a pair of 8×42 binoculars. Add a small tabletop telescope only when you have a solid surface and a real interest in planets and faint objects. That combination delivers the highest chance of a good night without turning a camping trip into an equipment haul.