Hut-to-Hut Hiking Trips: Routes, Hut Bookings and Packing
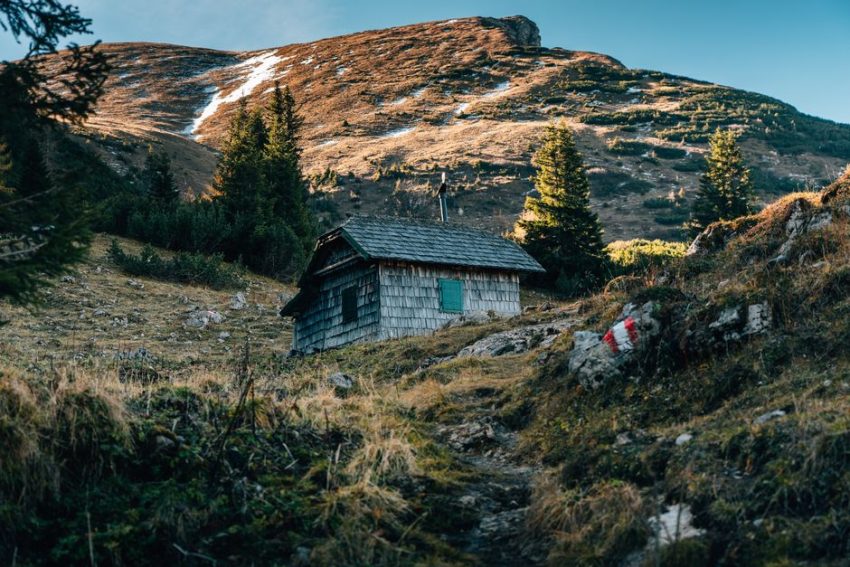
Your first hut-to-hut trip usually starts with a harmless idea: walk through the mountains all day, eat a hot dinner, sleep in a real bed and carry less than you would on a camping trip. Then you open a map and discover that the attractive route has 1,200 metres of climbing, no phone signal and a hut that stopped taking bookings three months ago. I plan these trips around the practical details first. The views come after.
How to choose a hut-to-hut route you can actually finish
The right route is not the one with the most famous summit. It is the one whose daily effort matches your group for several days in a row. A hut trek removes the tent and stove from your pack, but it does not remove steep descents, altitude, bad weather or the need to reach dinner before the hut closes its kitchen.
Start with time on feet, not kilometres
For a first trip, I look for stages of 5 to 8 walking hours, 12 to 18 kilometres and roughly 600 to 1,000 metres of ascent. Those numbers are not a fitness test; they are a fatigue budget. A 15-kilometre day with 900 metres of climbing can feel much harder than a flat 22-kilometre walk. Add 45 minutes for every planned break, then keep at least 90 minutes of daylight in reserve. If the route only works when everyone walks quickly without stopping, the route does not work.
Check the route’s hidden demands
Read the stage descriptions for exposed traverses, fixed cables, scree, river crossings and sections where a cable car or bus is the only backup. A route can be technically easy but still punishing because the same 8-kilogram pack climbs and descends for eight straight days. I also check water points, resupply villages, escape routes and the hut’s latest arrival time. That list tells you more than a marketing description ever will.
Route comparison: TMB, Alta Via 1 or GR20
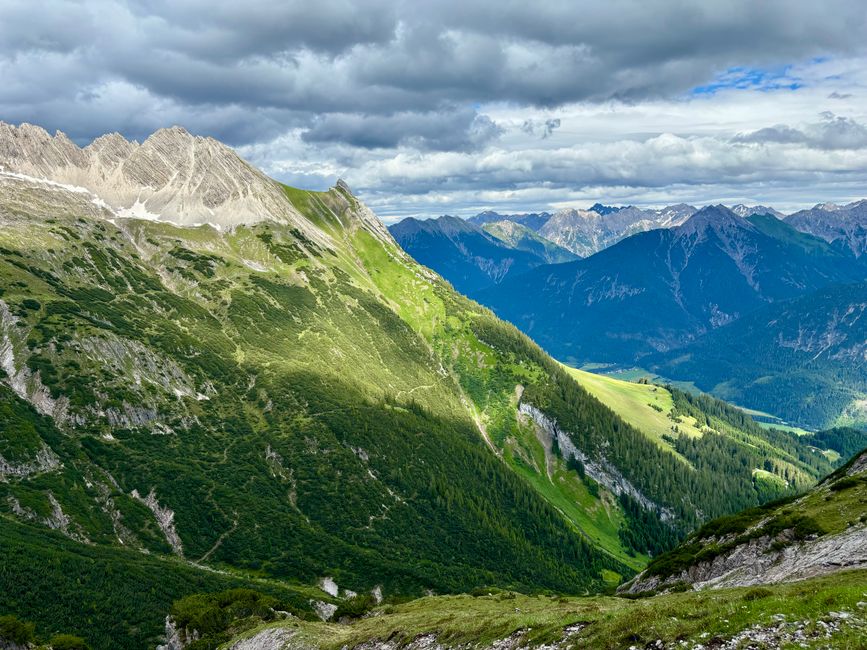
These three routes suit different hikers. Pick the route first, then choose dates and gear. Booking a popular trail before checking its daily difficulty is how people end up paying for a trip they cannot enjoy.
| Route | Published scale | Best for | Main warning |
|---|---|---|---|
| Tour du Mont-Blanc | About 170 km, 7 to 12 days, about 10,000 m ascent | First European hut trek with many villages and route options | High-season huts fill early; borders and weather add planning |
| Alta Via 1 | About 125 km, 12 stages, about 7,300 m ascent | Dolomite scenery, Italian rifugi and a clear north-to-south line | Some stages are long, and hut calendars open separately |
| GR20 | Sixteen standard stages with steep, rocky mountain terrain | Strong hikers who want a tougher, more rugged route | Do not treat it as an easy hostel walk; water and heat matter |
My pick for a first hut-to-hut trip
I would choose the Tour du Mont-Blanc and allow 9 or 10 days. It has the best safety net: villages, buses, alternate stages and accommodation in France, Italy and Switzerland. The official site reports 5 to 8 hours of walking on many days and recommends training with an 8 to 10 kilogram pack. The official TMB FAQ is a useful reality check before you commit.
When the other two routes win
Choose Alta Via 1 if food, limestone towers and comfortable rifugi matter more than a circular route. Choose the GR20 if you already handle long mountain days and rocky descents well. I would not make the GR20 a first hut trip for a group with mixed fitness. The official Corsican system describes it as a demanding mountain route, and the early stages can combine 1,000 metres or more of ascent with rough footing.
How to book huts before the best beds disappear
Book the beds before you buy non-refundable flights. That single rule prevents most expensive planning mistakes. Hut availability is the hard constraint; transport is usually the flexible part.
Use this booking order
- Choose a date range with one spare weather day if possible.
- List the most popular or smallest huts first. Those are the stages that control the whole route.
- Check opening dates, meal plans, dormitory rules, cancellation terms and the hut’s final arrival time.
- Book the constrained nights, then connect them with shorter or longer stages.
- Save every confirmation offline and record the local phone number for each hut.
- Ask about packed lunches, vegetarian meals, blankets, showers, cash and charging before arrival.
Build a route that can bend
Prices and rules vary by hut, so check the current rate before you build a budget. Some bookings include dinner and breakfast but not lunch, drinks or showers. On the TMB accommodation calendar, book the scarce nights first and let the easier nights move around them. Never assume a confirmation exists because a payment screen loaded; save the email, log in again and check the reservation list.
What a realistic day on the trail looks like
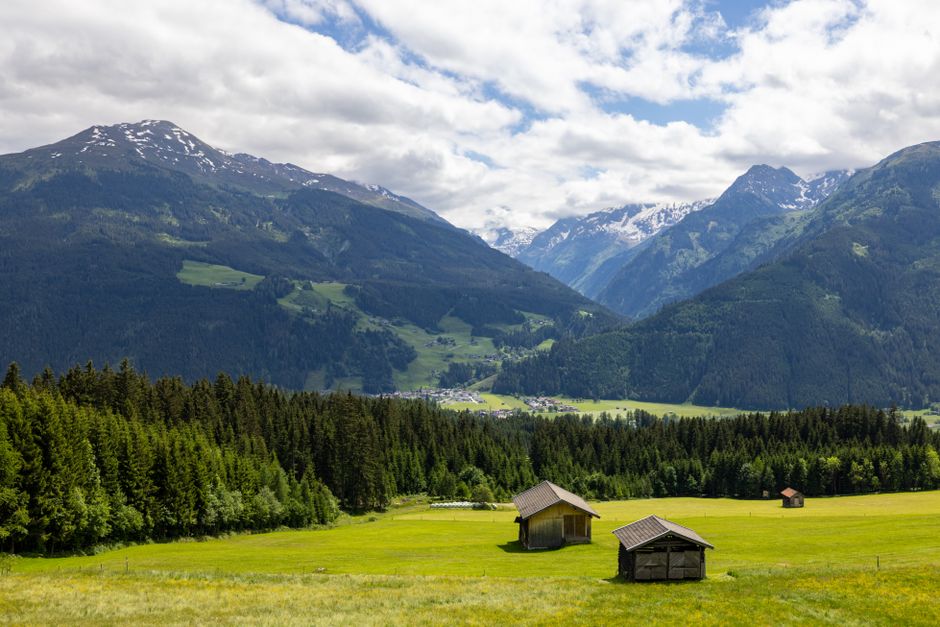
The best hut schedule leaves room for weather, sore feet and a wrong turn. A plan that looks efficient on paper often becomes miserable by day four.
How early should you leave?
For a 7-hour stage, I aim to leave between 7:00 and 8:00 a.m. after breakfast. That gives time for a slow climb, a lunch stop and an unplanned navigation check while still arriving before the evening meal. Start earlier for exposed ridges, hot valleys or stages with a fixed transport connection. Leave later only when the route is short and the weather forecast supports it. Ask the hut warden about storms and trail conditions before you walk out.
How do you manage food, water and navigation?
Carry 1.5 to 2 litres of water unless the route has verified refill points, and carry a small lunch even when the hut sells packed meals. Keep snacks in a hip-belt pocket so you eat before you feel empty. Download the route and hut locations to your phone, carry a paper map, and keep the next two stages visible. Mountains create dead zones and poor weather can make a familiar path look new. Tell someone at home your planned hut each night, then send an update when plans change.
The packing list I trust for hut-to-hut hiking
My strongest packing opinion is simple: aim for a loaded pack under 9 kilograms before water. A hut provides the shelter, mattress and often a blanket. Carrying camping equipment defeats the main reason to choose hut-to-hut travel.
Choose the load-bearing items carefully
Its 48-litre capacity is enough for hut clothing, a liner, waterproofs and food without inviting you to pack a second wardrobe. It is my choice for hikers who want protection without a heavy leather boot. Break footwear in before the trip; waterproof membranes do not fix blisters.
Pack for the hut as well as the trail
Bring a sleeping-bag liner, earplugs, lightweight sandals, a quick-dry towel, two hiking shirts, one warm layer, waterproof shell, spare socks, hat, gloves, sunscreen, blister care, personal medicine, power bank, headlamp and emergency blanket. The manufacturer specifications also show a red night-vision mode, which is kinder to sleeping dorm-mates.
Gear mistakes that make hut trips miserable
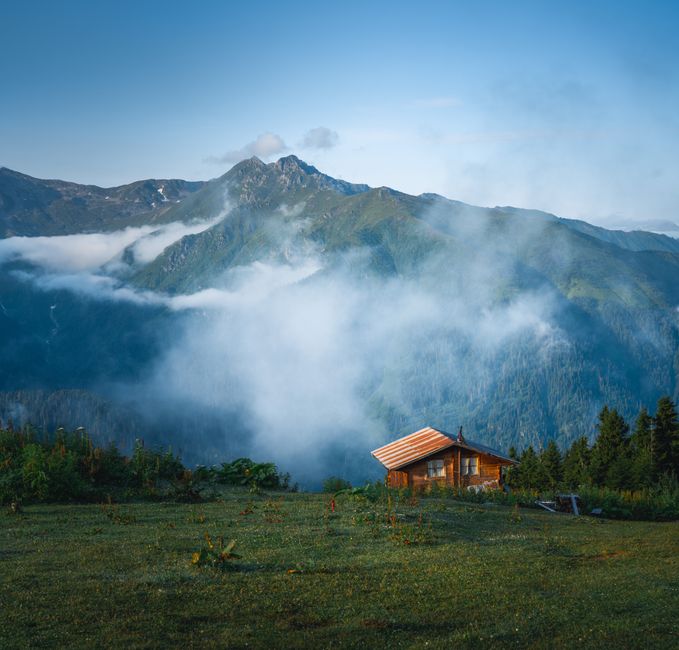
A short verdict: buy fewer things, test every important item, and spend money on fit before features. The most expensive gear mistake is carrying equipment that solves a problem the hut already solves.
Leave these mistakes at home
- A 65-litre pack for a supported hut route. It adds empty space and encourages overpacking.
- Brand-new boots, shoes or trekking poles. Blisters and loose pole straps show up too late once you are committed.
- Heavy cotton clothes. They dry slowly and become cold after rain or sweat.
- A large wash kit. Carry a small soap, toothbrush and toothpaste, then accept that hut life is not a hotel.
- A phone as your only navigation tool. Batteries fail, screens fog and signal disappears.
When not to buy extra technology
Do not buy a satellite communicator for a busy, well-connected route just because it looks professional. Use one when you hike solo, expect long signal gaps, have a medical concern or need reliable two-way contact. Otherwise, put that money into a navigation course, travel insurance and a properly fitted rain shell. For a remote route, a two-way satellite messenger is a sensible safety pick; for a populated route, it is unnecessary weight and an ongoing bill.
My final hut-to-hut plan
If I were planning a first trip now, I would choose a 9-day Tour du Mont-Blanc itinerary in late August or early September, book the huts before flights, and reserve one flexible day near the middle. I would train with an 8-kilogram pack on consecutive weekends, then test every clothing layer in rain.
The simple decision rule
Pick the TMB for the easiest logistics, Alta Via 1 for the strongest hut-and-food experience, and GR20 for a demanding mountain challenge. Keep daily stages below your maximum ability, not at it. The best trip leaves enough energy to talk over dinner instead of falling asleep at the table.
What success looks like
On the final morning, you should still have dry socks, a working headlamp, enough food to reach the next village and a route you can shorten if the weather turns. That is the resolution to the opening problem: you arrive at the hut before dinner, your pack stays light, and the mountains feel like the point of the trip rather than an obstacle between bookings.