Kayak Camping for Beginners: How to Pack for an Overnight Trip
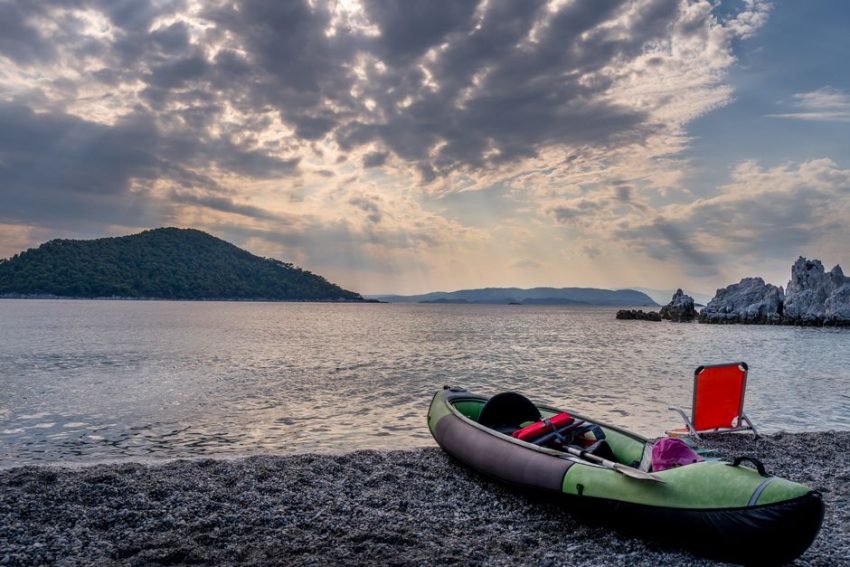
You push off at 9 a.m. with a tent, sleeping bag, stove, food, and too much confidence. By noon, the kayak feels twitchy. At camp, the sleeping bag is damp, the spare clothes are buried under cookware, and the food bag will not fit back into the hatch. The common misconception is that kayak camping means putting backpacking gear into a kayak. It does not. A kayak has narrow openings, limited volume, and a strict balance point. Good kayak packing protects stability first, then comfort.
For a first overnight trip, choose one calm night close to shore. Pack for the water temperature, not the sunny forecast. The aim is a compact, waterproof load that you can reach without unloading the whole boat.
Why kayak camping feels harder than backpacking
The real limit is usable volume
A kayak may have enough total storage for an overnight trip, yet still reject half your gear. Hatches are often smaller than the compartments behind them. A bulky tent body, a wide sleeping bag, or a hard-sided cooler can fit inside the boat but fail at the hatch opening. Measure the opening before buying storage bags. A dry bag that is 12 inches wide may hold plenty at home and become useless when the hatch is 10 inches across.
The boat also rewards soft, compressible items. Clothing, a sleeping quilt, and a foam pad can fill gaps. Pots, fuel canisters, and water bottles cannot. Keep hard items grouped so they do not puncture food bags or scrape the inside of a hatch.
Trim beats brute force
Weight belongs low and near the center of the kayak. Heavy water and cooking fuel should sit close to your hips, not at the very front or rear. A heavy bow makes the kayak dive into waves. A heavy stern can make steering sluggish and cause the bow to lift in wind. Low and centered is the clear rule.
For beginners, a smaller load is safer than a fully loaded boat. Carry one night of food, a simple shelter, and clothing that works in layers. Leave luxury items at home until you know how your kayak handles.
How to sort an overnight kayak load
Use this five-step packing order
- Start with safety gear. Keep your personal flotation device, paddle, spare paddle, whistle, pump, paddle float, first-aid kit, and navigation tools ready before anything enters the hatches.
- Set aside water. Plan the amount before packing food or clothing. Water is usually the heaviest item, so it determines the boat’s trim.
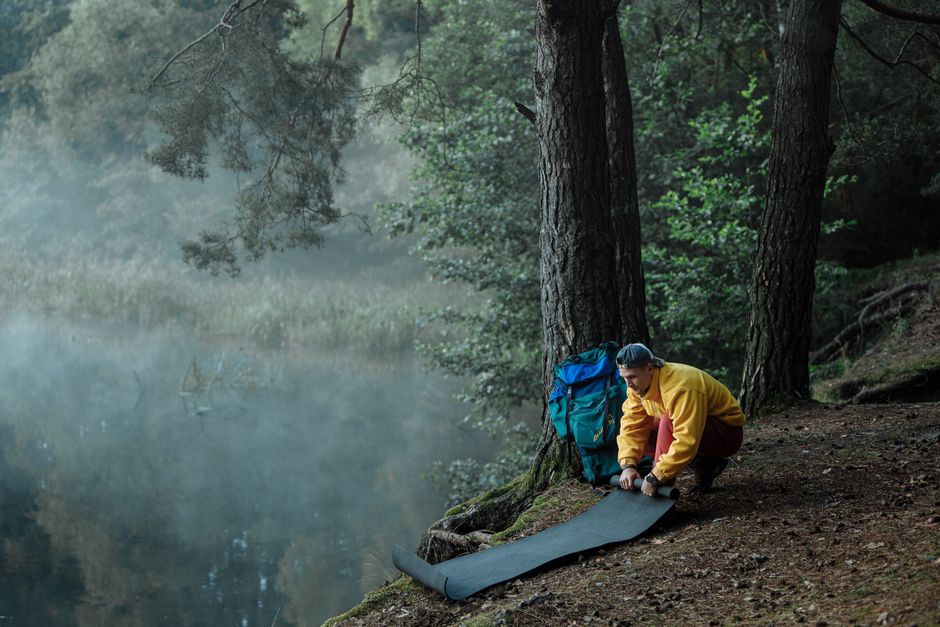
- Pack the sleep system. Put the sleeping bag or quilt, sleeping pad, and shelter into separate waterproof bags. These items must stay dry even if another bag leaks.
- Add the kitchen. Group the stove, fuel, pot, lighter, mug, and food in one cooking kit. Keep the lighter and a small emergency snack in a second easy-to-reach bag.
- Fill the gaps with soft gear. Use spare clothes and a towel to stop hard items from sliding. Do not stuff every gap so tightly that you cannot remove one bag.
Pack by access, not by category alone
Items needed on the water belong in a cockpit-day bag or deck bag. This includes sunscreen, water, rainwear, snacks, a phone in a waterproof case, and a map. Camp-only items can go deep into the hatches. Put the first-night shelter near the top of the rear hatch because you may reach camp tired, cold, or in fading light.
Secure loose items before launch
Anything on deck needs a backup plan. Clip small items to deck lines or place them in a secured deck bag. Never leave a stove, knife, water bottle, or camera loose near your feet. A capsize turns loose gear into floating gear. The best packing verdict is simple: if you cannot name where an item lives and how you will recover it, leave it home.
How much food, water, and fuel should you pack?
Beginners often underpack water and overpack food. For a one-night trip, the safest plan uses a small menu with no complicated cooking. Bring a meal for the first evening, breakfast, lunch or snacks for the second day, and one backup snack. Select food that stays edible if the temperature rises and that needs little cleanup.
A practical one-night planning chart
| Item | Starting amount per person | Why it works |
|---|---|---|
| Drinking water | 2 to 3 liters | Covers paddling, camp, and breakfast in mild conditions |
| Emergency water reserve | 1 extra liter | Provides a margin for heat, delays, or a missed refill |
| Food | 1,800 to 2,400 calories | Enough for dinner, breakfast, lunch, and snacks for one active day |
| Cooking fuel | One small canister or measured liquid fuel supply | Enough for two hot drinks and one simple meal when water is pre-measured |
| Water treatment | Filter or tablets plus backup tablets | Reduces reliance on a single source or device |
Why water changes your packing plan
Three liters of water weighs about 6.6 pounds before the container. That weight affects the kayak more than a fleece jacket or a compact tent. Pack water in two or three containers instead of one large jug. Smaller bottles let you spread weight along the centerline and give you a backup if one leaks.
Do not assume a lake or river provides safe drinking water. Agricultural runoff, algae, salt, and seasonal closures can make a familiar shoreline unusable. Check the route before launch and treat every natural source.
Choose food that creates fewer problems
Tortillas, hard cheese, nuts, dried fruit, instant oats, and dehydrated meals pack well. Fresh meat, glass jars, and cans add weight and create waste. A stove is not the meal plan; it is only the heating tool. If rain or wind makes cooking difficult, you should still have food that can be eaten cold. The verdict: pack a one-night menu that works with one pot and a backup snack that needs no cooking.
The dry-bag system that works for one night
Once the load is planned, the best upgrade is not a larger kayak. It is a simple dry-bag system. Use several small bags instead of one giant sack. Small bags pass through narrow hatches, compress into odd-shaped spaces, and make camp setup faster.
Use bags by function
A 20-liter Sea to Summit Big River Dry Bag works well for a sleeping bag or clothing bundle because its rugged fabric tolerates repeated packing. A 5-liter NRS Ether HydroLock Dry Bag suits a repair kit, first-aid kit, or electronics. These examples are not required purchases. They show the useful size range: one medium bag for bulky soft gear and several small bags for items you may need separately.
Use one color for sleep gear, one for clothes, and one for food. That small visual system saves time when the weather changes. Double-bag the sleeping bag if the forecast includes rain, waves, or a wet landing.
Pack bags so they fit the hatch
Fill the dry bag loosely, push out excess air, roll the top at least three times, and clip it closed. Do not inflate a bag like a balloon. A firm cylinder is harder to fit through a hatch and can trap air around other gear. Place soft bags into the ends of the compartment first, then slide the heavier cooking and water bags into the center.
Test the whole load at home
Put every item in the kayak before the trip. Close each hatch. Lift the bow and stern. Then sit in the cockpit and check that your feet, pump, paddle float, and spray skirt remain accessible. The clear winner is a load that closes with room to spare. If the hatch must be forced shut, remove gear before launch.
What if the load does not fit or the forecast changes?
What should I remove first?
Remove duplicate clothing, extra cookware, bulky food packaging, and comfort items before removing safety equipment. One warm layer beats three thin cotton shirts. One pot beats a separate pan, mug, and bowl. Repack food into sturdy bags at home, but keep labels with cooking instructions and allergy information.
When should I choose a canoe or car campsite instead?
Choose a canoe, wider recreational kayak, or car campsite when the route includes rough water, cold conditions, a dog, children, bulky camera gear, or more than one night of supplies. A sit-inside touring kayak is not a small canoe. Its narrow hatch and limited cockpit make it a poor match for large coolers, folding furniture, and thick mattresses. The right alternative is the one that keeps the boat stable and leaves room for a safe exit.
How do I know the kayak is balanced?
After loading, sit in the cockpit on calm water close to shore. The boat should sit at its normal waterline, turn without a hard pull, and remain steady when you lean slightly. If the bow or stern sits low, move heavy items toward the cockpit and lower them in the hull. If the kayak feels unstable, return to shore and remove gear. Never solve poor stability by tying more items to the deck.
Now return to the opening launch. The tent, sleeping system, water, and food fit through the hatches. The sleeping bag stays sealed, the stove is reachable, and the kayak still responds when you turn. That is the goal of kayak camping for beginners: not carrying everything, but carrying the right overnight system in a boat that remains safe and predictable.