Ice Fishing for Beginners: Gear, Safety and Choosing Your First Lake
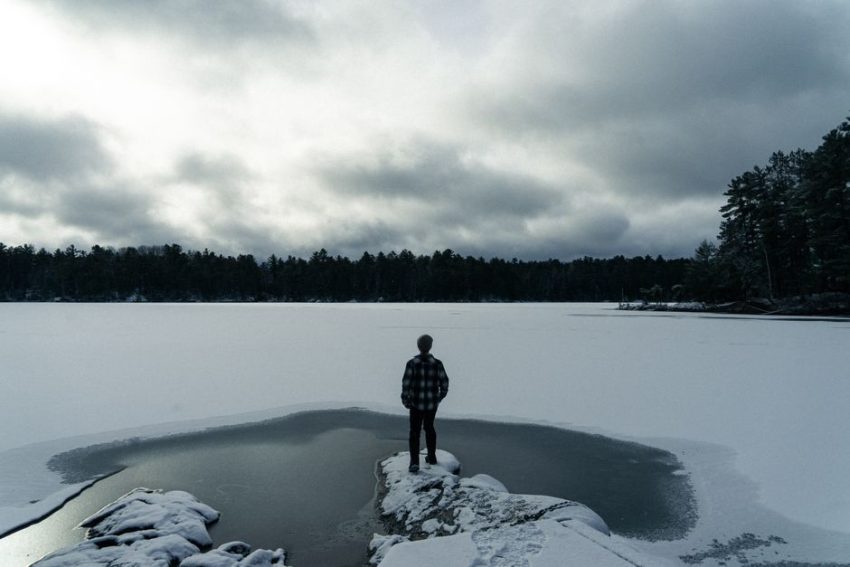
The first time I took a new angler onto the ice, he arrived with a tackle box, a folding chair, and a pair of sneakers. The lake had 14 inches of ice, but he still spent the first hour sliding around, freezing his feet, and trying to drill a hole with a borrowed auger that had dull blades. He caught one perch. He also learned why ice fishing rewards preparation more than enthusiasm.
For a first trip, you do not need a heated fish house, a $1,000 sonar unit, or six rods. You need safe ice, a small lake with willing fish, warm clothing, an auger that works, and a plan for getting home before the weather turns. This is the setup I would use for a friend starting from zero in 2026.
Beginner Ice Fishing Gear That Belongs in the Sled
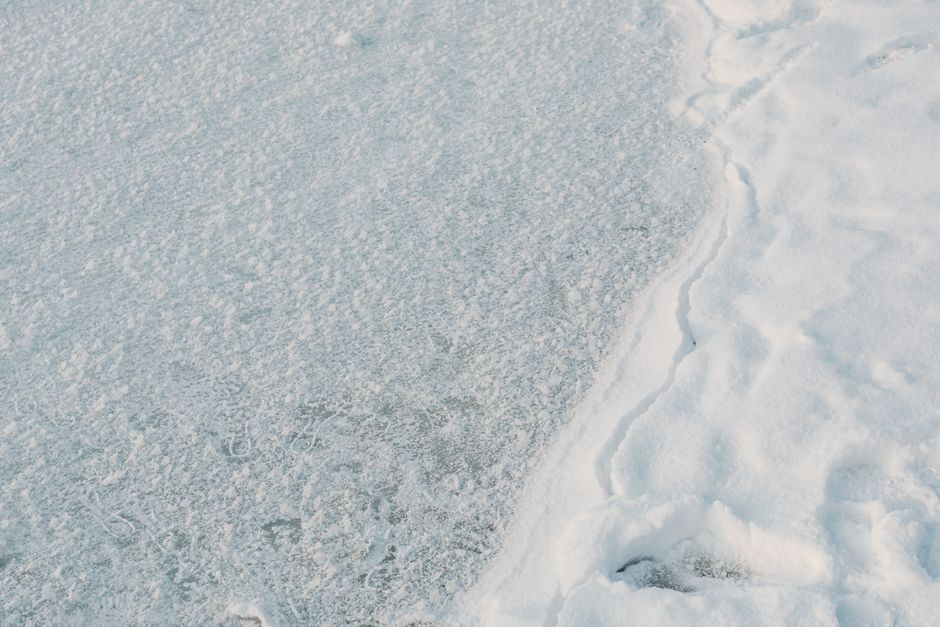
My beginner kit fits in one medium sled and costs far less than a full tournament setup. Buy safety equipment first, then the tools that help you move and stay warm. Electronics come later.
Pack these essentials before tackle
- Ice picks and a whistle: The Frabill Ice Safety Kit lists at about $29.99 and includes retractable ice picks, a whistle, and XL ice creepers. The creepers add carbide spikes under your boots, although they work best on bare ice rather than deep snow.
- An ice chisel: Use it to check ice as you walk. Choose a solid model with a long handle and a bright grip. A short camping hatchet is not a substitute.
- An 8-inch auger: Eight inches is enough for perch, crappie, walleye, and most trout. Ten inches makes sense for large pike or lake trout, but it cuts slower and weighs more.
- A skimmer: Slush freezes quickly and can block your line. A basic metal or plastic scoop is enough.
- One short rod: A 28-to-32-inch light or medium-light ice rod covers panfish and small walleye. Bring a second rod only after you know what the lake allows.
- Line and simple lures: Start with 2-to-4-pound fluorocarbon for panfish, 6-to-10-pound line for walleye, small tungsten jigs, soft plastics, and a few spoons. Carry live bait only if local rules allow it.
- Food, water, and a power bank: Cold drains phone batteries quickly. Keep your phone in an inside pocket, not on the floor of a wet sled.
Do not forget the small items that save the day
Bring spare gloves, hand warmers, a dry base layer, pliers, forceps, a tape measure, a headlamp, toilet paper, and a small first-aid kit. I keep a dry pair of socks in a sealed plastic bag. That single habit has saved more trips than expensive tackle.
Do not buy a full shelter before you know how you fish. A shelter hides the wind, but it also makes it harder to move, check ice, and search for active fish. On a mild first trip, a bucket and a windproof jacket are often better than dragging 100 pounds of equipment across the lake.
How to Choose Your First Ice Fishing Lake
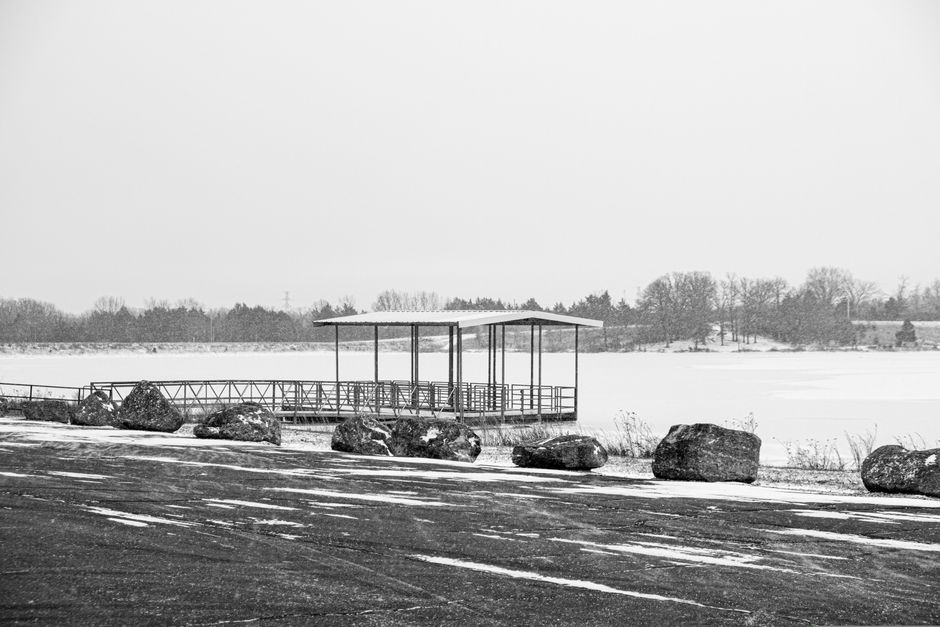
Start on a small, accessible lake with a strong panfish population. That choice matters more than owning premium equipment. Your first goal is to learn how ice behaves, how to stay warm, and how to set up a line without frustration. A lake full of cooperative bluegill or perch gives you more feedback than a famous trophy lake where you may wait all day for one bite.
Look for a forgiving first destination
Pick a lake with a plowed public access, a nearby town, and recent local reports. A depth range of 15 to 30 feet gives you a useful starting zone for many winter species. Search for a basin, a weed edge, or a break where shallow water drops into deeper water. You do not need to know every contour line. You need two or three sensible areas to test.
Ask a bait shop or local guide three direct questions: Which species are biting now? What depth are people finding them in? Which access point is safe and open? A good shop will also tell you if snow has hidden rough ice or if a lake has dangerous current. That local information is more valuable than an anonymous social media photo.
Know when to reject a lake
Skip lakes with strong current, active aeration, inaccessible launches, changing water levels, or no reliable ice report. Avoid a large reservoir for your first solo-style outing because wind can push you far from the access point and make the walk back exhausting. Do not copy a crowd onto unfamiliar ice. Let other anglers show you where fish are, not where you should risk your life.
My first-lake verdict is simple: choose a small public lake, go in daylight, fish near a known access, and leave before you are cold enough to make poor decisions. One easy trip teaches more than an ambitious trip that turns into a survival exercise.
Do You Need a Fish Finder or an Ice Shelter?
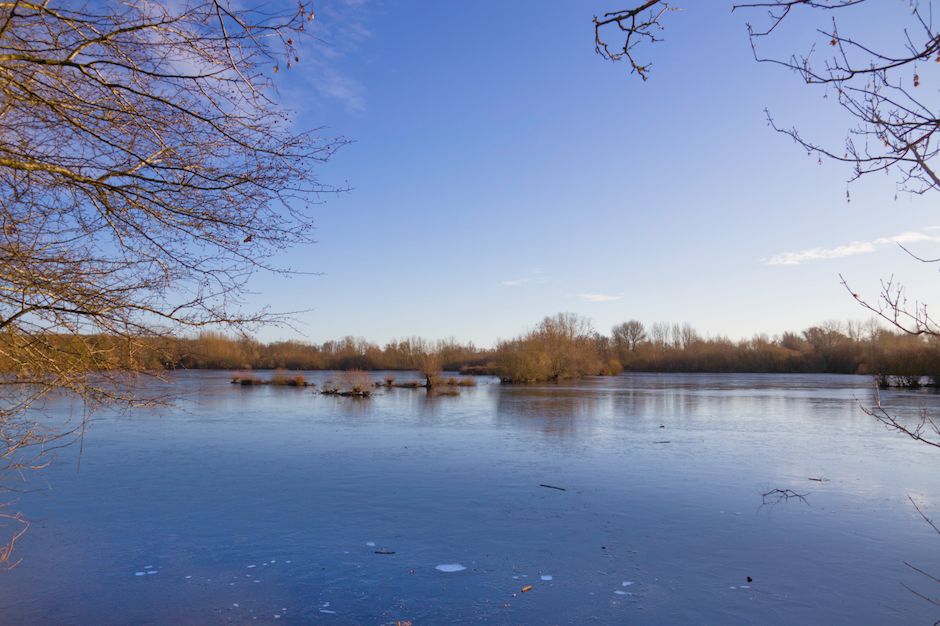
Is a fish finder necessary for the first trip?
No. You can catch panfish with a simple jig, a depth map, and patience. A sonar unit becomes useful when you want to see fish movement, keep a lure at the right depth, and decide quickly if an area is empty. It speeds up learning, but it does not replace reading a lake.
If you want a straightforward flasher, the Vexilar FLX-8 Genz Pack lists around $369.99 and reaches 120 feet, with a 12-degree transducer cone, a weatherproof three-color LED display, and a 1-inch target-separation rating. That is enough for a first unit. I would skip the more expensive FLX-38 until you have fished enough to know why you need variable frequency and advanced zoom.
Do you need a shelter for a first trip?
Usually, no. A shelter is helpful in wind, blowing snow, and deep cold, but it adds weight and reduces mobility. If two people fish together often, the Clam X-400 Hub Shelter lists around $549.99 and offers a practical enclosed space without jumping to a large base-camp design. The Clam X-600 lists around $749.99 and gives more room for a group, but that extra space is wasted if you are still moving every 20 minutes to find fish.
For one mobile angler, the Otter XT Hideout is a more specialized choice at about $600. It has a one-person flip-over design, a 12.6-square-foot fishable area, a 59-pound listed weight, and an insulated 600-denier ThermalTec shell. I like the format for someone who already knows they prefer fishing from one position. I would not recommend it as the first purchase for a person still learning which lakes and species they enjoy.
Your First Day on the Ice: A Simple Three-Hour Plan
My first-trip plan is deliberately boring. Boring is good when the surface under your feet can change and the air temperature is below freezing.
Follow this order on the lake
- Before leaving home: Check the weather, local ice report, access status, fishing license, species regulations, and bait rules. Charge your phone, headlamp, sonar battery, and auger battery. Tell someone your route and return time.
- At the access: Put on ice picks, check that your partner has theirs, and keep the sled light. Test the ice near shore with a chisel. Do not follow tracks blindly.
- First holes: Drill three holes at different depths, such as 12, 18, and 25 feet. Clear each hole, drop a simple jig, and watch for five minutes. If there is no bait, no fish, and no marks, move.
- Stay mobile: Use a small grid instead of drilling randomly. Move 20 to 40 yards along a break or weed edge, then test another depth. Mark the productive depth in your phone or notebook.
- Manage your body: Eat before you feel hungry, drink before you feel thirsty, and change gloves when they become damp. Cold hands make knots and equipment mistakes harder.
- Leave early: Pack up while you still have daylight, battery power, and warm feet. A first trip should finish with energy left for the walk back.
What success should look like
Success is not catching a limit. It is returning with a clear picture of the lake, a dry base layer, and enough confidence to improve your next trip. If you catch a few perch or bluegill, learn one productive depth, and make it home before dark, the trip worked.
My starter setup is an 8-inch hand auger or StrikeMaster Lite-Flite Lazer, a 28-inch light ice rod, simple tungsten jigs, the Frabill safety kit, layered clothing, and a small public lake with recent local reports. Add the Vexilar FLX-8 after you learn to move. Add the shelter after you learn that you enjoy staying in one place. That order saves money and makes the first season much easier to understand.