Beginner Day Hiking Checklist: Pack Light, Stay Safe
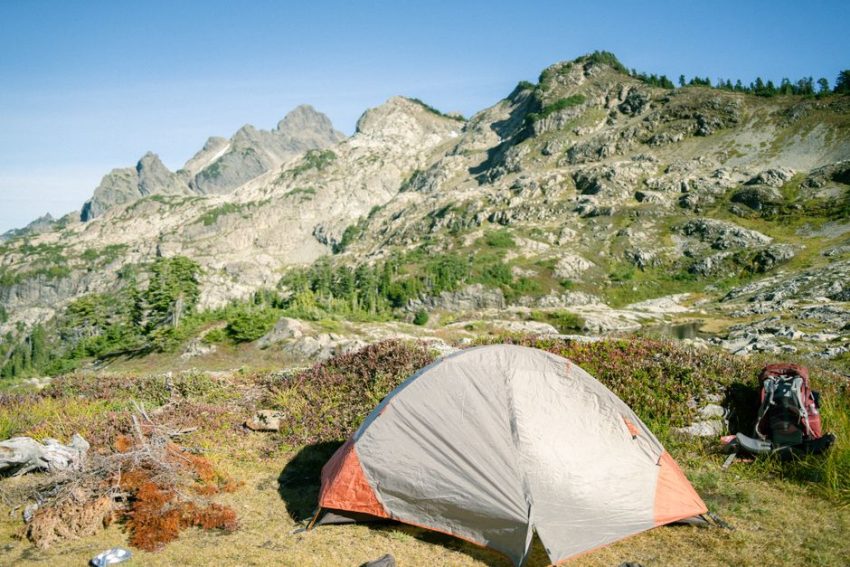
Most first hikes fail for boring reasons: too little water, bad footwear, no weather layer, or a phone that loses signal before the trail turns back. I have learned to pack for the actual walk in front of me, not for an imaginary expedition.
What belongs in a beginner day-hike pack?
Start with the ten-minute packing list
A local trail still deserves a basic safety kit. A short route can become slow when you take a wrong turn, help someone with a blister, or wait out a storm. My beginner day hiking checklist starts with these items:
- Water in a bottle or soft flask. Carry at least 500 milliliters for every hour of walking, then add more for heat.
- One salty snack and one fast carbohydrate, such as trail mix and an energy bar.
- A lightweight rain shell or wind layer, even when the morning forecast looks clear.
- A small first-aid kit with blister pads, gauze, tape, antiseptic wipes, and pain relief.
- A charged phone with the trail map saved for offline use.
- Sun protection: sunscreen, sunglasses, and a cap.
- Toilet paper in a sealed bag if the route has no facilities.
- A small headlamp, especially if the trail could take longer than planned.
- One plastic bag for wrappers, wet socks, or dirty tissues.
Keep the load under control
For a two-hour park walk, I aim for a pack weighing 4 to 8 pounds, including water. Put dense items close to your back, keep snacks in an outside pocket, and leave room for a layer you may remove. Do not pack a camp stove, giant knife, spare trousers, or three camera lenses for a maintained urban trail. The right checklist matches the route. Pack the safety items first, then add comfort items only after the basics fit.
How much water and food should a day hike carry?
Use walking time instead of mileage
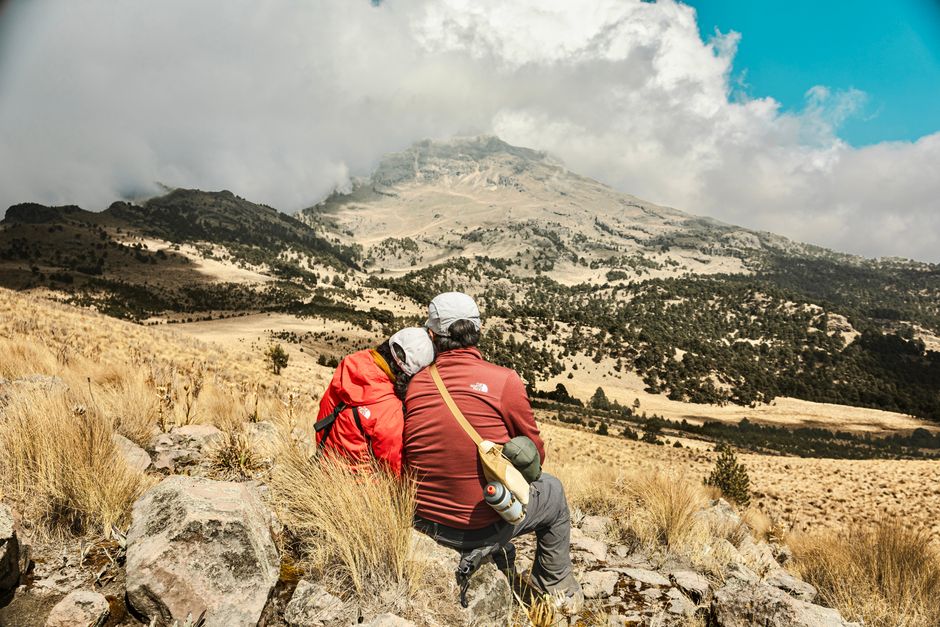
Mileage hides the real workload. A flat three-mile loop may take 75 minutes, while a steep two-mile trail can take three hours. I estimate water from expected time, elevation, temperature, and access to refill points. The table below gives me a starting point for ordinary weather, not a rule to follow blindly.
| Expected time | Flat or shaded trail | Hot, steep, or exposed trail | Food |
|---|---|---|---|
| 1 to 2 hours | 500 to 750 ml | 750 ml to 1 liter | One snack |
| 2 to 4 hours | 1 to 2 liters | 2 to 3 liters | Two snacks and a sandwich |
| 4 to 6 hours | 2 to 3 liters | 3 to 4 liters | Lunch plus two or three snacks |
| Any route with a refill point | Carry less only after checking it works | Carry a backup bottle | Keep one emergency snack |
Choose food that survives your backpack
Bring food you already enjoy eating. A peanut-butter sandwich, salted nuts, banana, jerky, or oat bar beats an expensive gel that makes you nauseous. I eat a small snack before I feel hungry, usually after 60 to 90 minutes, because waiting for a hard hunger crash makes the walk feel much worse. For hot days, add electrolytes if you sweat heavily, but do not treat a sports drink as a replacement for enough plain water.
Which shoes and layers are worth buying?
My footwear verdict for new hikers
Buy the shoe that fits your foot, not the shoe with the most aggressive marketing. For mixed park paths, gravel, and easy dirt trails, the Merrell Moab 3 at roughly $140 is my safest all-round pick because it has a stable platform, a protective toe area, and enough cushioning for long walks. The Salomon X Ultra 4, usually around $150, is better for rocky routes and wet ground because its sole grips more confidently, but it feels stiffer. I would choose the Altra Lone Peak 8, around $140, only for someone who already likes a wide toe box and a low, flexible feel. Do not buy it as a cure for every foot problem.
Layers beat heavy clothing
For the next-to-skin layer, the Patagonia Capilene Cool Daily shirt, often about $45, dries quickly and handles repeated washing well. A cheap synthetic running shirt can do the same job, so this is a comfort purchase, not a requirement. For rain, the REI Co-op Rainier Rain Jacket, around $100, offers a practical balance of waterproof protection and packable size for local walks. Cotton jeans and a thick hoodie are the wrong combination: they become heavy when wet, dry slowly, and make temperature control difficult. Wear a thin base layer, add warmth when stopped, and carry rain protection instead of starting in too much clothing.
How do you check a local trail before leaving home?
Read the route as a set of problems
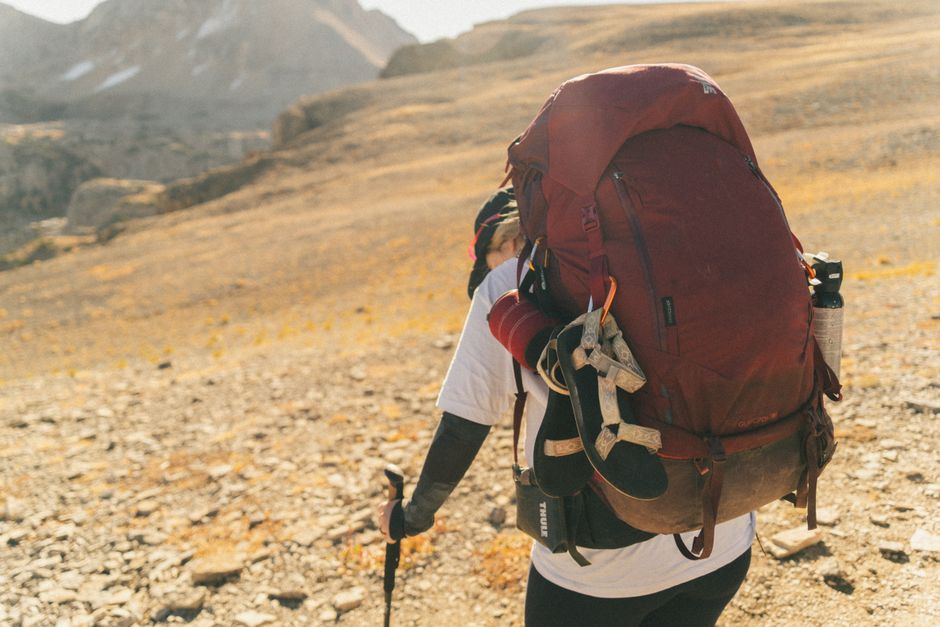
Before I leave, I check four facts: total distance, total ascent, surface, and the last reliable exit. A trail listed as an easy five miles can still cause trouble if the route has loose rock, deep mud, no shade, or a confusing junction near the halfway point. Look at the route map and satellite view together. The map shows the official line; the satellite view can reveal parking areas, creek crossings, construction, and whether the trail runs beside a busy road.
Then I check the weather at the trailhead and at the highest point. A small change in elevation can mean stronger wind, lower temperature, or a cloud layer that blocks visibility. I also look for recent reports, but I do not treat one fresh report as perfect ground truth. A trail condition can change after one storm. If the route crosses water, I need a backup plan before I start, because turning around at a flooded crossing is part of good judgment, not a failed hike.
Set a turnaround time
Pick a time when you will turn around even if you have not reached the viewpoint. For a first hike, that may be 90 minutes from the start. This protects your daylight and gives you time for a slow return, a wrong turn, or a minor injury. Tell one person the trail name, parking area, expected finish time, and the point when they should check on you. Save the map offline and take a screenshot of the trailhead information. That simple preparation covers more real problems than buying another piece of clothing.
Check the parking and access rules
Many beginner hikes go wrong before the walking starts because the lot is full, the gate closes at dusk, or a permit is required. Check opening hours, restroom locations, dogs-on-leash rules, and seasonal closures. Arrive with enough fuel to drive home, and never leave food visible in a parked car where local wildlife can reach it. My clear rule is simple: if I cannot explain how I will get back before dark, I am not ready to start that route.
What mistakes turn an easy walk into a bad day?
Do I need to start early?
Yes, when heat, crowds, or limited parking affect the route. Early starts also leave room for a slower pace. A beginner who begins at 2 p.m. on a six-mile trail has fewer safe options after a delay.
Should I trust my phone for navigation?
Use it as one tool, not the whole plan. Download the map, charge the battery, and carry a small power bank for longer walks. A phone can lose signal, shut down in cold weather, or fall into a stream. At every junction, I check the map before walking on rather than assuming the widest path is correct.
Can I hike in new shoes?
Do not take brand-new footwear on a long route. Wear it around the neighborhood first, then on a short trail. Blisters often appear during the second hour, long after a shoe felt comfortable in a store. Trim toenails, adjust your laces after the first incline, and carry blister tape before you need it.
What should I do if I feel tired?
Stop early, drink, eat, and assess the return distance. Fatigue makes navigation and balance worse. If the weather is worsening or the trail feels harder than expected, turn around while you still have energy. The best beginner decision is often a calm retreat, not a forced finish.
When do you need more than a phone and water?
For short, busy park loops
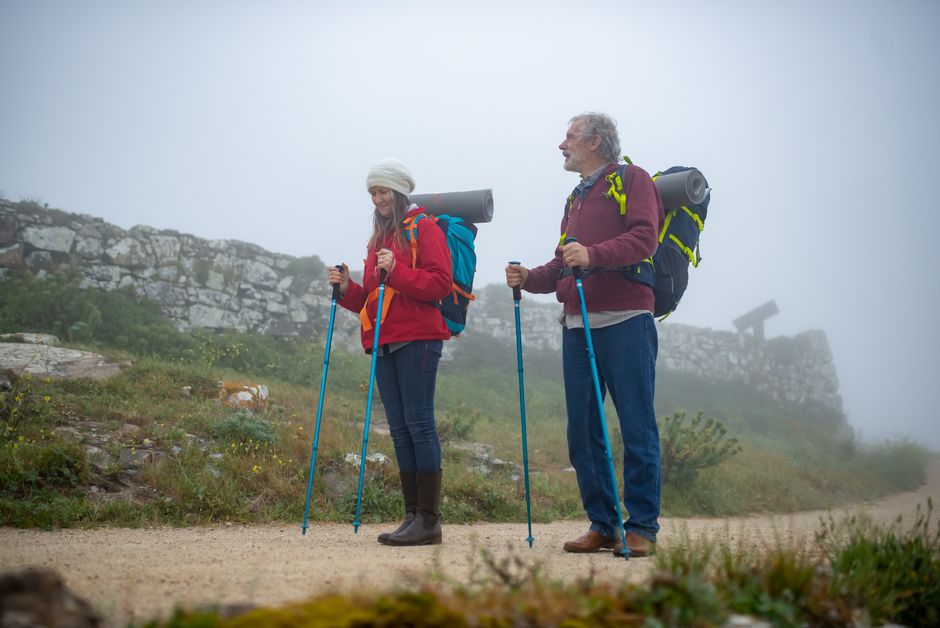
For a maintained loop within walking distance of roads and other people, my verdict is to carry water, a charged phone, a small first-aid kit, and a headlamp rather than buying a satellite communicator; the Black Diamond Spot 400 costs about $50 and is a sensible upgrade when an evening delay is possible, while a Garmin inReach Mini 2 at roughly $400 makes little sense for a two-hour urban path with reliable phone coverage.
For remote or exposed trails
For a route with weak cell service, few hikers, river crossings, or exposed weather, I would add the Garmin inReach Mini 2 and a real first-aid kit such as the Adventure Medical Kits Ultralight and Watertight .5, which costs around $33, because the extra communication and wound-care options address risks that a phone cannot; do not buy this gear to make an unsafe route safe, and turn around if the conditions exceed your experience.
How should you test the checklist before a longer hike?
Run one short rehearsal
Take the full pack on a 30-minute walk near home before using it on a longer trail. Drink from the bottle while walking, adjust the shoulder straps, test the rain layer, and check whether anything rubs your hips or neck. Put every item in the same pocket each time. Consistent packing saves time when you need your map, first-aid tape, or snack quickly.
- Walk for 30 minutes with the shoes and socks you plan to use.
- Climb a hill or stairs while carrying the full water load.
- Eat the planned snack and check that it sits well.
- Open the offline map with your phone in airplane mode.
- Turn on the headlamp and replace its batteries or recharge it.
- Remove anything you carried but did not use, unless it was safety gear.
Use the first real hike as a measurement
After the walk, write down how much water you drank, how long the route took, and which item caused trouble. If you finished with half your water and no shade, keep the same load for the next hike rather than cutting it sharply. If your shoulders hurt, reduce unnecessary gear before reducing water or safety items. My final pack check is this: I know the route, I know my turnaround time, and I can explain what I will do if the weather or trail conditions change. That is enough for a confident start on most local trails.