Hiking Navigation Basics: 7 Hiking Navigation Myths That Cost You a Rescue
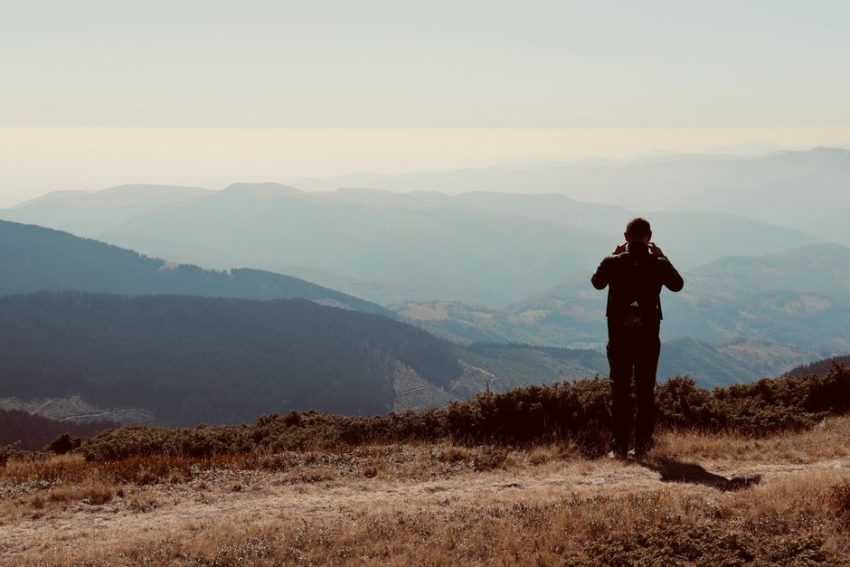
You follow a blue trail line on your phone, reach a fork, and find three unmarked paths. The battery reads 18 percent. There is no signal. On a 1:24,000 topographic map, one inch represents 2,000 feet on the ground, so a small-looking gap can hide a long climb, cliff, or river crossing. The safest navigation system starts before you leave the trailhead: map first, compass second, GPS as a position check.
Why a blue GPS dot is not a route
The blue dot answers one question: where is the receiver right now? It does not answer the questions that decide whether you can keep moving. You still need to know which side of a ridge you occupy, how steep the next slope becomes, and whether the faint line ahead is a trail, a drainage, or an old route shown on an outdated map.
Read the land before reading the screen
Start with large shapes. Find the valley, ridge, lake, road, and summit around you. Then match smaller features such as stream bends, spurs, saddles, and trail junctions. A GPS position becomes useful when it agrees with at least two visible or mapped features. If the dot says you are near a trail but the slope rises sharply in front of you, stop and investigate the mismatch. Do not walk farther just because the screen keeps moving.
Contours explain what the line hides
Contour lines join points of equal elevation. Lines packed tightly together mark a steep slope; wide spacing marks easier ground. A V shape that points uphill often marks a drainage, while a V pointing downhill can mark a spur. Count the contour intervals before committing to a route. A trail that looks like a short diagonal may cross 1,000 feet of elevation gain in less than a mile.
Map, compass, or phone GPS: which should lead?
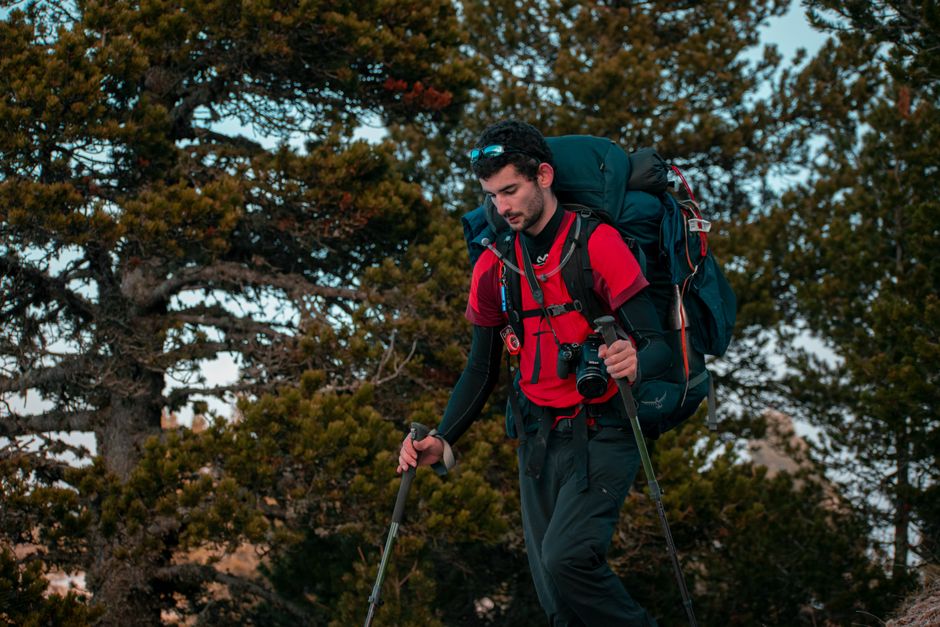
The best order is simple: the map builds the plan, the compass confirms direction, and GPS checks position. Each tool covers a different failure point.
| Tool | Best job | Main weakness | Use it when |
|---|---|---|---|
| Topographic map | Shows terrain, water, routes, and escape options | Needs practice and can become outdated | Planning and making route choices |
| Baseplate compass | Maintains a bearing without batteries or signal | Cannot show your location by itself | Cross-country travel and poor visibility |
| Phone GPS | Shows location and records a track | Battery, screen, map, and weather limits | Confirming position and following a planned route |
The practical verdict
For day hikes on marked trails, a downloaded map on a phone plus a small compass is the strongest lightweight setup. For remote terrain, add a paper map in a waterproof sleeve. A phone should support your decisions, not replace the skills that let you navigate after the battery dies.
The handoff that prevents confusion
Before moving, name the next feature you expect to reach, such as a saddle, creek crossing, or trail junction. Walk toward that feature, then check the map and GPS together. This handoff turns navigation into a series of small tests instead of one long guess.
How to read a hiking map before leaving the trailhead
Spend five minutes at the parking area. That small pause often prevents an hour of wrong-way travel.
- Find the north arrow. Check whether the map uses magnetic north, grid north, or true north. Mark the difference if the map provides a declination value.
- Mark your start and finish. Circle the trailhead, destination, campsites, water sources, and realistic turnaround points.
- Trace the route in sections. Break the hike at junctions, stream crossings, saddles, and major contour changes. Each section should have a clear next landmark.
- Estimate time with elevation included. A flat three-mile trail and a steep three-mile trail do not belong in the same time estimate. Add breaks, navigation stops, and a margin for poor visibility.
- Identify escape routes. Mark roads, ranger stations, open valleys, and trails that lead back to populated areas. An exit plan matters more than a perfect summit plan.
- Write a turnaround rule. Set a time, weather limit, or remaining daylight point before emotions take over.
Use landforms as checkpoints
Choose checkpoints you can recognize from more than one clue. A bridge beside a sharp bend is stronger than a single tree. A saddle between two peaks is stronger than a vague view of a mountain. If the next checkpoint does not appear when expected, stop at the last confirmed location.
Keep the map usable
Fold the map so the current section stays visible. Protect it from rain, but do not seal it so tightly that you avoid checking it. A map hidden in the bottom of a pack cannot guide you.
Why your compass can point the wrong way

A compass does not know where you want to go. It only responds to magnetic force, and nearby metal or the wrong north reference can turn a careful bearing into a bad decision.
What makes a compass reading unreliable?
Keys, phones, watches, trekking-pole tips, car doors, and belt buckles can pull the needle. Hold the compass flat, away from metal, and let the needle settle. A digital compass on a phone can drift after calibration errors or magnetic interference. Treat it as a quick check, not your only bearing tool.
How do you correct for declination?
Maps often use grid or true north, while a magnetic compass points toward magnetic north. The difference changes by location and over time. Read the map’s current declination information, then set the correction on a compass that allows it. If the map does not provide a reliable value, use a known trail direction or landmark to test your setup before entering difficult terrain.
What should you do after losing the trail?
Stop. Turn around and look for the last confirmed marker, footprint, junction, or landform. If you cannot find it, return to that point rather than creating a wider search problem. A short retreat feels inefficient, but wandering downhill or toward a visible peak often creates a second mistake.
Phone GPS works best when you prepare it offline
My strongest recommendation is to treat your phone as a preloaded map, not as a live internet service. Download the map area at home, open it in airplane mode, and confirm that your route, contour lines, trail junctions, and alternate exits appear before you start.
Set up a reliable offline map
Charge the phone fully. Download the largest useful map area, not just the line of the planned trail. Save the route as a track, add waypoints for the trailhead and emergency exits, and test the map with cellular data and Wi-Fi turned off. Open the screen in bright light and rain gloves if possible. A route that only works while zoomed tightly to a thin line is not ready for the trail.
Protect battery and location accuracy
Keep the phone warm in cold weather and store it in a waterproof case that still allows touch control. Turn off automatic photo backup, streaming, and unnecessary notifications. Use the screen for short checks instead of leaving it on continuously. Carry a small power bank, but do not treat it as a substitute for a paper map and compass. If the phone shows a position that conflicts with terrain, stop and verify the surroundings.
Which navigation gear earns space in your pack?
Buy equipment to solve a specific failure, not because a longer feature list looks safer. For most hikers, a paper map, a dependable compass, and an offline phone map beat an expensive handheld GPS used without practice.
| Product | Published US price | Useful specification | Best use |
|---|---|---|---|
| Suunto MC-2/G/6400 | $95 | Mirror sighting, adjustable declination, clinometer, UTM scales | Serious map-and-compass work |
| Garmin eTrex SE | $149.99 | 2.2-inch display, up to 168 hours with two AA batteries | Low-cost dedicated GPS backup |
| Garmin GPSMAP 67 | $499.99 | 3-inch display, IPX7, up to 180 hours in GPS mode | Frequent remote trips and long battery life |
| Garmin inReach Mini 2 | $399.99 plus subscription | Two-way messaging, SOS, up to 14 days at a 10-minute tracking interval | Remote safety communication |
Best value for most hikers
The Suunto MC-2 is the best dedicated compass choice because its adjustable declination and mirror sighting help with real bearings, not just rough direction checks. Pair it with a paper map and an offline phone map. That setup costs far less than a handheld GPS and still works after a dead battery.
Best choice for remote routes
The Garmin GPSMAP 67 wins for repeated off-grid trips because its published battery rating reaches 180 hours in GPS mode and 840 hours in expedition mode. Choose the inReach Mini 2 when communication and SOS matter more than detailed on-device mapping. The subscription cost makes it excessive for local park walks, but justified on remote routes where help may be hours or days away.
Navigation mistakes that justify turning back
The most expensive mistake is buying a device and assuming it removes judgment. A GPS can record a wrong route just as faithfully as a correct one, and a compass can give a precise bearing from the wrong starting point.
Stop when these warning signs appear
- The map, GPS position, and visible terrain disagree.
- You have crossed a junction without confirming it.
- The trail becomes a steep drainage, cliff edge, or dense brush.
- Your planned daylight margin has disappeared.
- The phone battery falls below the level needed for the return route.
- Weather removes the landmarks you planned to use.
Return to the last confirmed location while you still have energy and visibility. Do not keep walking to make the original plan feel successful.
When not to buy a handheld GPS
Skip the Garmin GPSMAP 67 if you hike marked trails near towns, already carry a reliable phone, and have no interest in learning a second mapping system. Put that money toward a map-reading class, a paper map, better rain protection, or an emergency communication device. The best upgrade for a beginner is practice: take a short route, predict each landmark, check the map, and learn how the ground matches the symbols.
The final field rule
For a specific situation, the best system is clear: use a map and compass as the foundation, phone GPS as a position check, and a dedicated GPS or satellite communicator only when the route’s distance, remoteness, or communication risk demands it.